In this guide, we’ll look at how you can create and manage an Opportunity in Timewize. Our Pursuits Management functionality lets you centralise Opportunity record-keeping across your business, integrating your network of contacts and client organisations so you have visibility of your pursuits at the Portfolio level. Assemble your dream team of Resources and better quote their services using Timewize to cost the Position assigned to the Opportunity. Timewize will flow the information collected about your pipeline into your business’ Forecast so that you have an accurate view of your financial outlook.
The Opportunity entry is a live tool for your business to continually update as new information is known about the Opportunity and as it moves through the pursuits lifecycle; from lead, to bid, to award.
Adding an Opportunity #
Navigate to the Opportunities list by clicking Opportunities in the top navigation bar.
Click the Add Opportunity button in the top right corner to open the Add Opportunity pop up.
Opportunity Info Tab #

Panel: Select the Panel arrangement through which the contract will likely be issued. If the opportunity is not tied to a Panel, choose “No Panel”.
These Panels have been set up in the Admin Control Panel. To add another Panel or learn more about Panels, see Connecting Standard Skills to Panels
Organisation: This dropdown list displays all entries listed in your Organisations list.
Tip: Select the lowest level Organisation relevant –organisational hierarchies defined when the Organisation was created in the Organisations list will apply here.
To add a new Organisation to your Organisations list or learn more about Organisations, see Organisations (Guide coming soon).
Delegate Contact Person: You can only complete this field once the Organisation has been chosen. Once the Organisation field is complete, you may select the Delegate Contact Person linked to the Organisation.
Name: Give a name to the Opportunity.
Tip: You’ll be able to add the official Tender Name and Number in the next tab, so this Name can be an informal name that helps you and other people in your company know at a glance which Opportunity it is.
Type: Select whether the pursuant Project will be Time & Materials or Milestone based.
State: Select the Australian State or Territory where the Opportunity is based. Any subsequent contract may be subject to the jurisdiction of that State or Territory.
Qualified Ops: This field refers to whether an Opportunity has been qualified internally. This is to help your organisation manage its pursuits management workflow. Opportunity Qualification means determining, among the management personnel in your company, whether or not an opportunity worth your time and resources to pursue. Choose FALSE in the drop down if the Opportunity has not yet undergone a qualification process, and TRUE once it has been analysed – regardless of whether you’ve decided to pursue it or not.
Stage: Select the Stage that the Opportunity is at (Lead, Tender Released, Bid Development, Bid Submitted).
Linked Project: Opportunities sometimes arise from work already underway or relationships formed on live Projects. Where an Opportunity is related to an existing Project managed by your company, select the relevant Project from the dropdown.
Tender Info Tab #
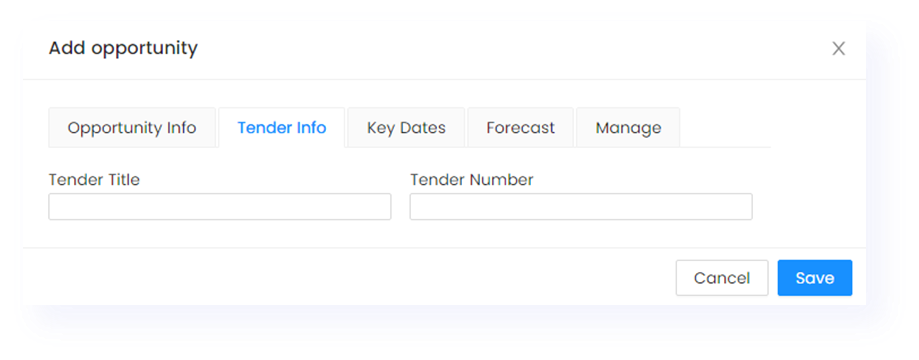
Record the Tender Title and Tender Number where a Tender or RFQ has been released for the Opportunity.
Key Dates Tab #
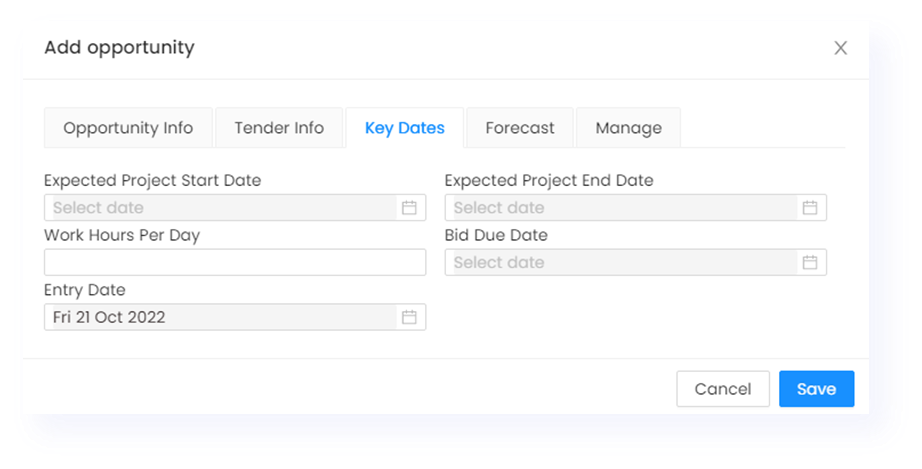
Expected Project State & End Date fields: Record and update information about the future Project start and end dates.
Tip: Before firm dates are known, complete the fields with your best educated guess; this will help Timewize reflect the Opportunity in your company Forecast.
Work Hours Per Day: Estimated billable hours per day under the resultant contract.
Tip: This is usually 8 hours per day.
Tip: You can define your team’s daily hours and Rate of Effort when setting up Positions and Resources later on.
Bid Due Date: Once known, the date by which a tender response or bid must be submitted.
Entry Date: The date that the Opportunity was added. This field is automatically populated but can be amended if needed.
Forecast Tab
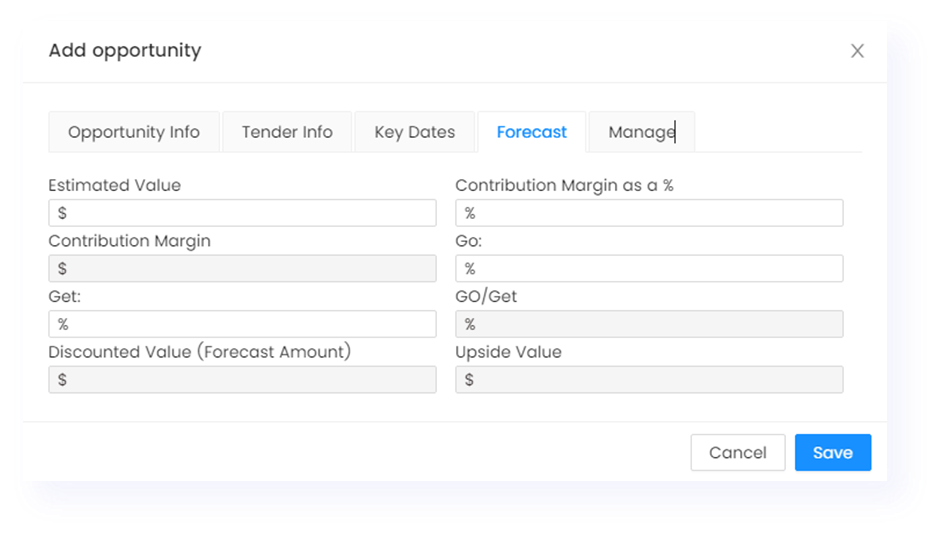
Estimated Value: Provide an initial assessment of the resultant Project’s total contract value. This can be updated later at the press of a button based on the calculated value of the resources assigned to the task when you have more information about what Positions and Skills might be involved in the Opportunity.
Contribution Margin as a %: Define the Contribution Margin percentage, or target gross profit, you intend to maintain in the resultant Project.
Tip: The Contribution Margin percentage will later be used to calculate recommended Sell Rates for each of the nominated Resources. Learn more about Contribution Margins at Guide coming soon.
Contribution Margin: This field is automatically calculated.This field calculates the Contribution Margin based on the Estimated Value and desired Contribution Margin as a % inputs.
Go: Input a “Go” rate percentage. The “Go” rate is the likelihood that the Opportunity will proceed to contract.
Get: Input a “Get” rate percentage. The “Get” rate is the likelihood that the contract is awarded to your company.
Go/Get: This field is automatically calculated. The Go/Get rate is used to the value of the opportunity as it is added to the company forecast based on the likelihood
Discounted Value (Forecast Amount): This field is automatically calculated. Calculated using the Estimated Value and Go/Get rate, this is the discounted amount to be applied to the forecast
Upside Value: This field is automatically calculated. Calculated using the Estimated Value and Go/Get rate, this is the residual upside that will be included in the forecast if successful.
Manage Tab #
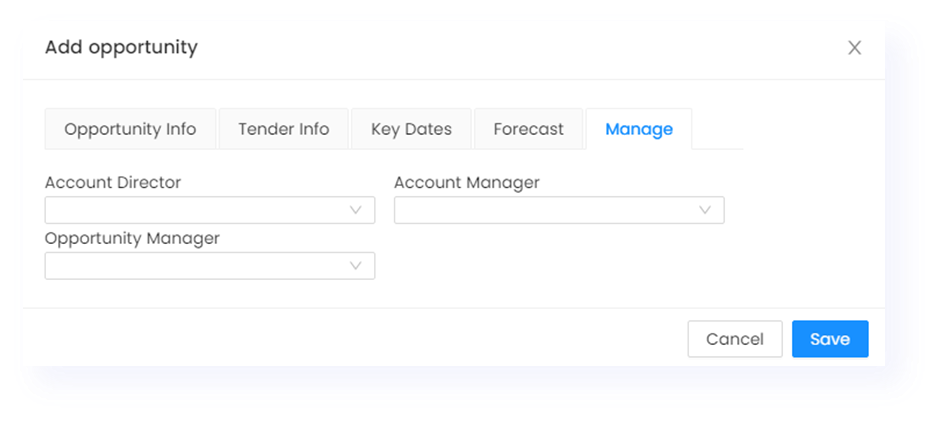
Account Director: The person in your business who is the Director for the client or sector account.
Account Manager: The person in your business who is the Manager for the client or sector account.
Opportunity Manager: The person in your business who is the principal manager or point of contact for the Opportunity.
Ensure all mandatory fields are complete. Click Save. The Opportunity will appear in your list of Opportunities.
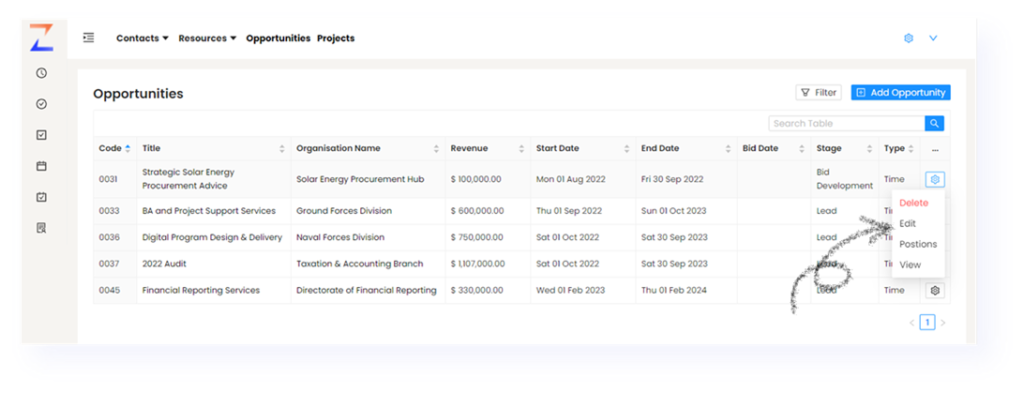
You can return to this pop up to add more information at any time by clicking Edit on the Settings icon in the righthand column of the opportunity row.
Setting up Milestones in a Milestones-based Opportunity #
Tip: To set up and edit Milestones, ensure you have defined the Estimated Start Date and Estimated End Date for the resultant project in the Opportunity Key Dates.
When you set up a Milestone-based Opportunity Timewize generates a Default Milestone.
Begin by editing the Default Milestone. Click on the Settings icon in the righthand column in the Default Milestone row and click Edit Milestone.
Update the Milestone Name and estimated Milestone Start Date and End Date. You may include more information about the Milestone in the Description free-text field.
Click Save.