Add an Organisation Association to a Contact #
To navigate to your contacts, hover over the Contacts tab on the menu bar and click Contact in the submenu.
Use the search bar to make sure the person hasn’t already been added as a Contact.
If the contact has already been added, click on the Settings icon in the righthand column in the contact row and click Edit. Continue with the next steps. If the contact doesn’t yet exist, click the Add Contact button in the top right corner of the Contacts page, and complete at least the mandatory fields in the form.
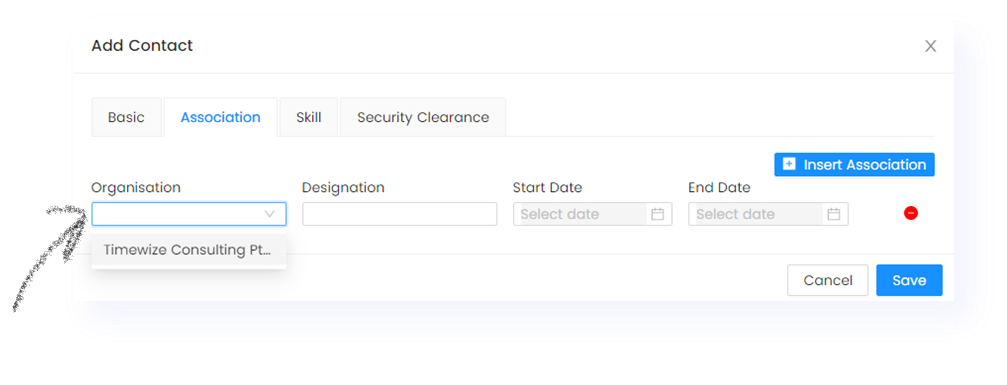
In the Association tab, add your Organisation and a start date for the resource, and click Save.
Convert a Contact to a Resource #
Hover over the Resources tab on the menu bar and click Employees in the submenu. If you’re adding a subcontractor, click on Subcontractor instead and follow the same steps in the Subcontractor list.
Click the Add Employee button in the top right corner of the Employees page.
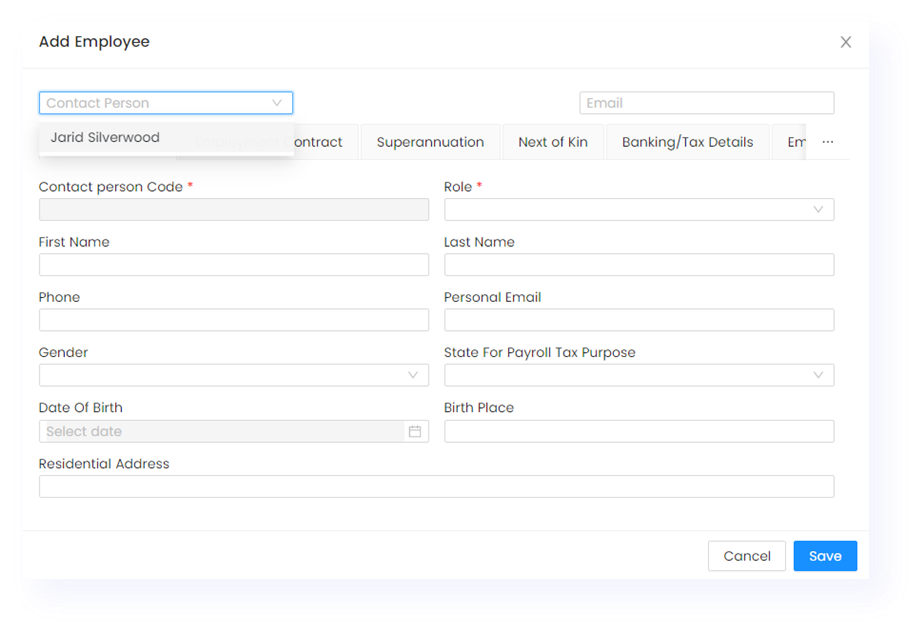
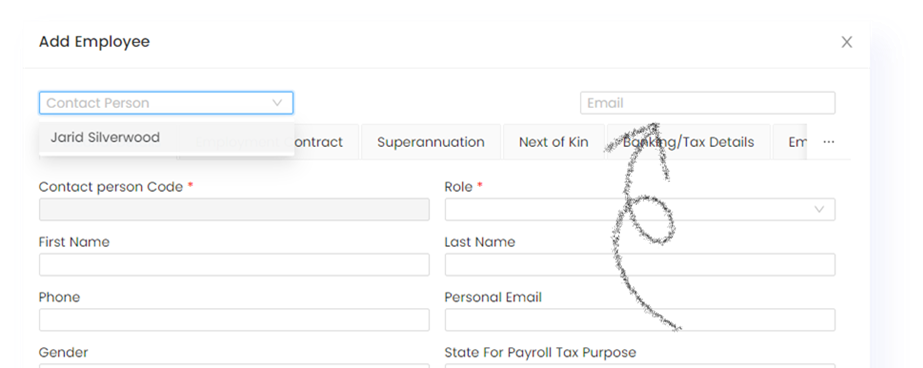
Use the drop down in the top left corner. Contacts that have been added as associations of your organisation will appear in the drop-down list.
Select the Contact from the list, and complete the form, filling in all mandatory fields in each of the tabs.
Importantly – the Email field in the top right corner of the pop up is used to set up the username for the employee’s Timewize account. Once you complete the Email field and click Save, login information will be sent to that email address for the employee to access their Timewize account. The email address will also be the resource’s username, so it’s best to make sure you use a company email address.
Choose a Role for the resource. These roles have been set up in your Global Settings. Once the resource logs in, they will gain access to Timewize according to the permissions designated to the Role in your Global Settings.
After saving, the contact will appear as a resource in your list of employees or subcontractors. Once person receives the automated email with their Timewize login information, they will now be able to log in and add information to the other fields, such as their bank details and other administration.
Please note – it may take up to an hour for Timewize to automatically generate the first-time login information for the new resource.